If you’re someone who enjoys spending time maintaining your lawn, you know that having a lush, green yard requires more than just regular watering and mowing. One of the most crucial steps in ensuring your grass thrives is understanding the health of your soil. Enter soil testing—an easy yet powerful tool that can make all the difference in your lawn care routine.
What is Soil Testing?
Soil testing is the process of analyzing your soil’s composition, pH level, nutrient content, and other essential characteristics. Essentially, it’s like a checkup for your lawn’s soil, helping you understand what’s going on beneath the surface.
There are two primary components of a soil test:
- Soil pH: This indicates how acidic or alkaline your soil is, which can affect nutrient availability to your plants.
- Nutrient Levels: The test measures the presence of key nutrients like nitrogen, phosphorus, potassium, and trace minerals that are essential for plant growth.
Soil testing is typically done by collecting a sample of soil from different areas of your lawn and sending it to a lab for analysis. Don’t worry, though—this process is quick, easy, relatively inexpensive and it will set you up for success.
Why is Soil Testing Important for Your Lawn?
- Identifies Nutrient Deficiencies
Different types of grass require specific nutrients to grow well. A soil test can show whether your soil lacks important nutrients like nitrogen (N), phosphorus (P), or potassium (K), which can directly affect grass health. If a deficiency is found, you can adjust your lawn care regimen by adding the right fertilizers or soil amendments. To learn more about NPK, click here.
- Prevents Over-Fertilization
While it may seem tempting to over-fertilize to boost grass growth, it’s actually harmful. Too much fertilizer can lead to excessive growth, weaker grass, and even damage to the environment through runoff. A soil test will tell you exactly how much of each nutrient your soil already has, helping you avoid over-fertilizing and saving you money in the long run.
- Helps Adjust Soil pH
Soil pH is a crucial factor in how well your grass can access nutrients. If the soil is too acidic (low pH) or too alkaline (high pH), your grass may struggle to absorb the nutrients it needs. For instance, a lawn that’s too acidic may benefit from NutraLime OP® Hi-Mag Lime to raise the pH, while alkaline soil may need Elemental Sulfur pH Down to bring it down to a more neutral range. A soil test will give you a clear idea of what your soil needs to thrive.
- Saves Time and Money
By knowing exactly what your lawn needs, you avoid the guesswork of trial and error. Soil testing helps you target the specific problem areas in your yard, leading to more efficient lawn care. This results in less wasted effort, fewer unnecessary products, and a healthier lawn with less maintenance.
- Improves Soil Health
Over time, continuous care and adjustments based on soil testing will lead to healthier, more robust soil. Healthy soil supports a thriving ecosystem of microorganisms that help break down organic matter and release nutrients. A properly balanced soil is key to maintaining a sustainable and low-maintenance lawn.
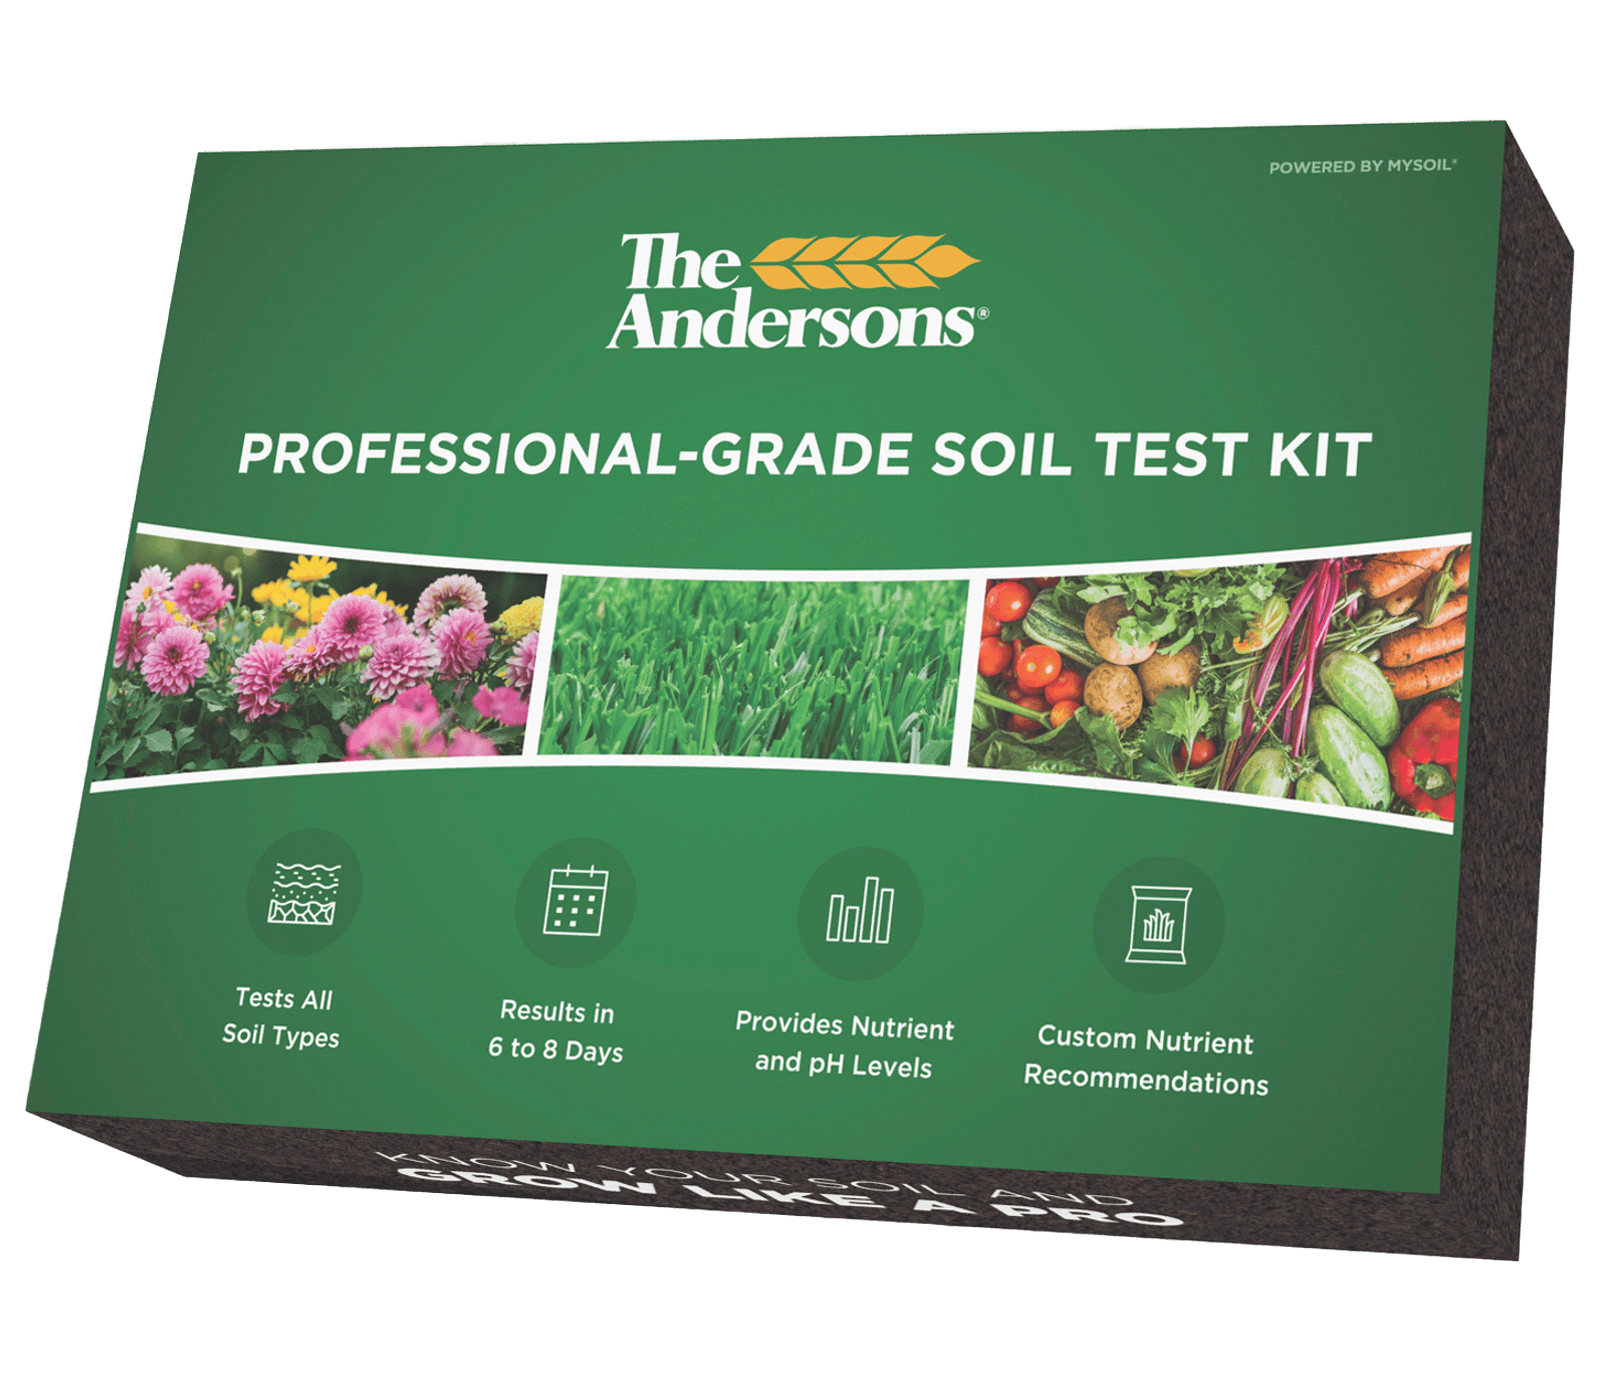
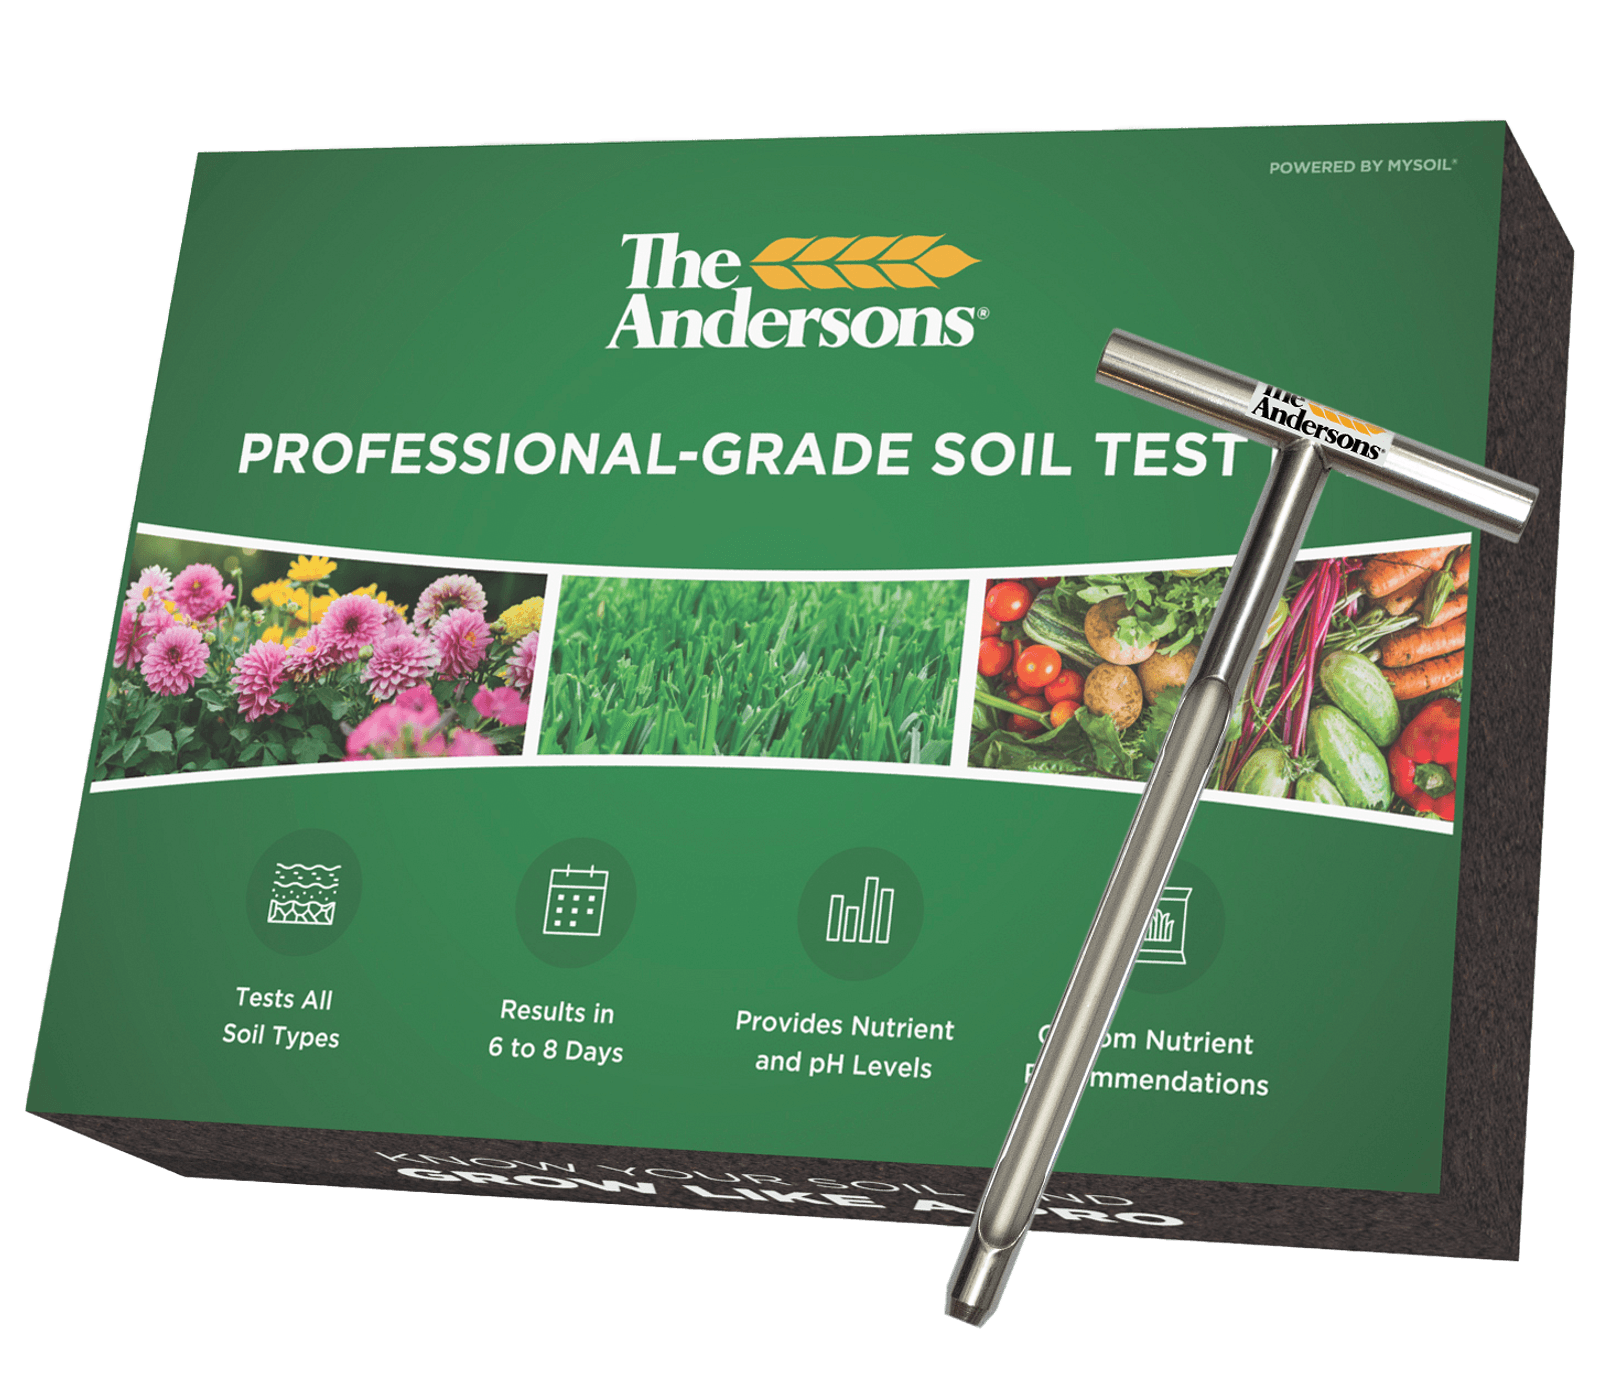
The Andersons Soil Test Kit
The Andersons Soil Test Kit uses the customer's field-moist soil to absorb available nutrients without using chemicals that can over or underestimate nutrient levels and soil release. This kit does not require your soil to be dried and ground, two processes that change the physical and chemical characteristics of the natural soil. In just 6-8 days after mailing in your sample you'll get results for your soil's macronutrient, micronutrient, and pH levels. Your results will also include Andersons product recommendations tailored to your soil's needs.
Register your kit, pull soil sample, mail sample, get results, grow like a pro. It's really that easy!

1. Register your kit
- Register your kit online at AndersonsHomeandGarden.com/SoilTest
- Create an account (Andersons Home & Garden account credentials do not carry over to soil test login)
- Enter your kit registration number (on sample jar and paper insert)
- Select the sample type
- Add the date of when your soil was added to the sample jar
- Select the approximate square footage of your sampling area (length by width)
2. Collecting a good soil sample
An accurate soil sample provides accurate analysis. Before taking your soil sample, it’s best to evaluate your testing area and divide it into different sections if needed. It is important to collect a representative soil sample. If multiple sample areas are being tested, we recommend separate tests for each area. For each test, we recommend:
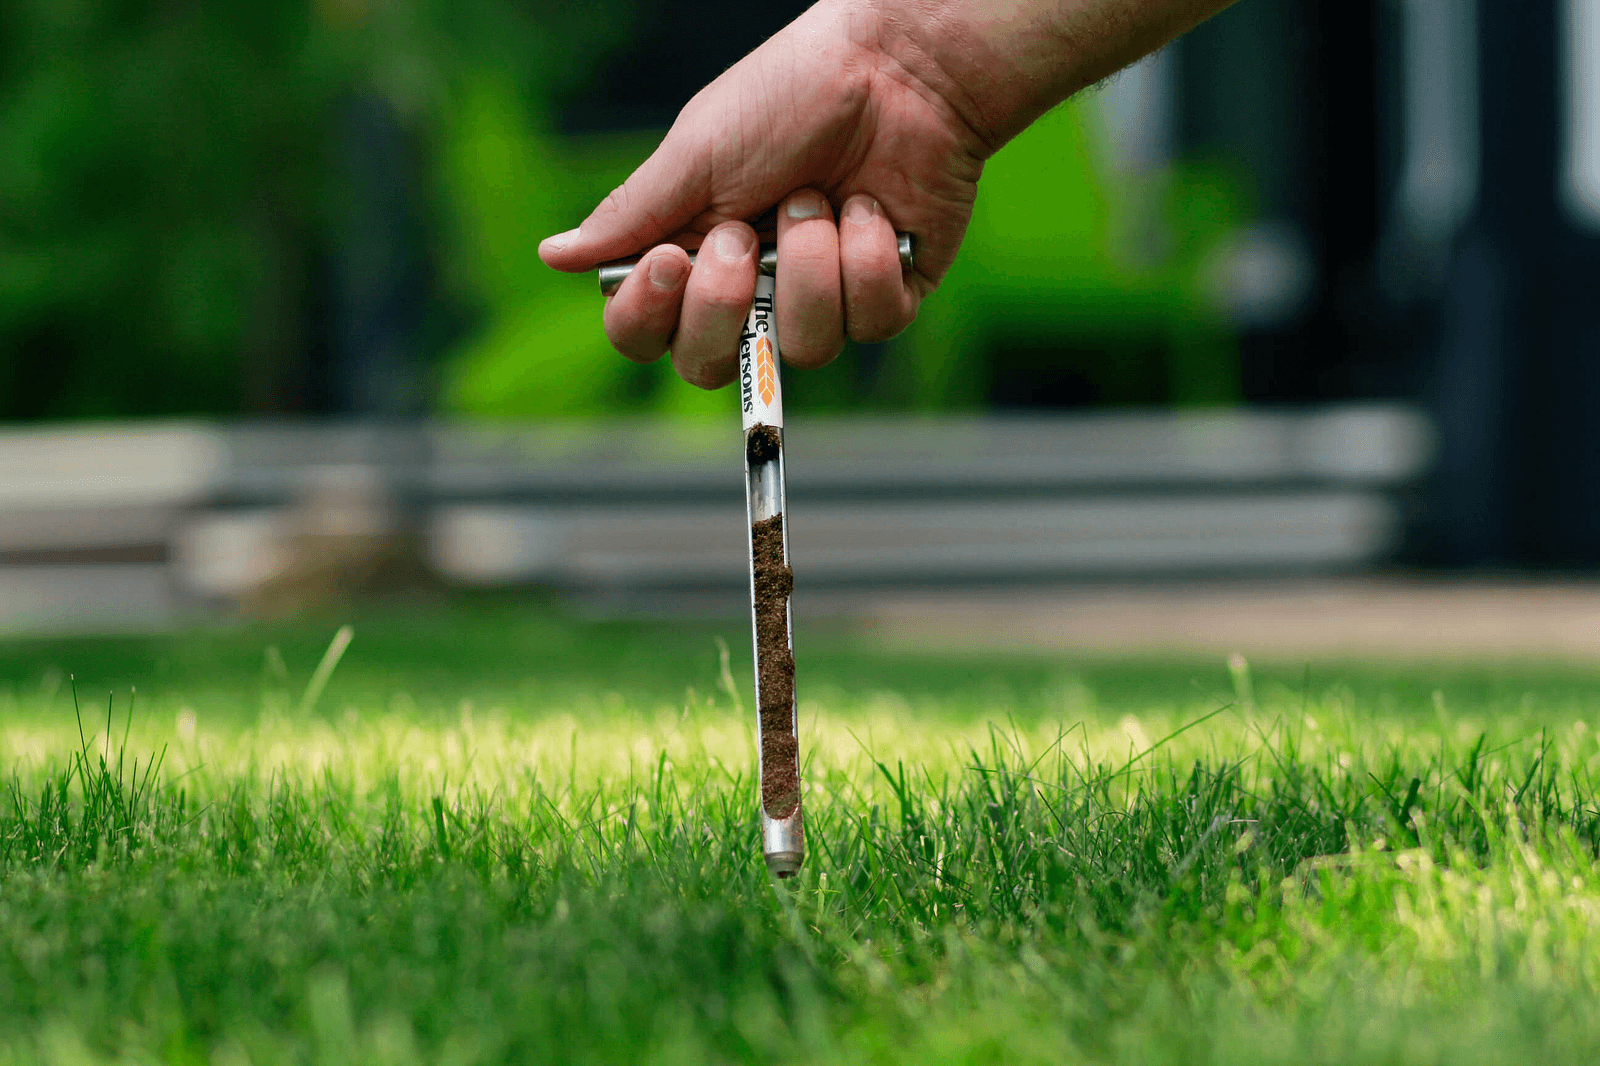
- Using a clean soil probe or hand trowel, collect soil from 5-7 separate locations/spots within your desired testing area.
- The soil should be collected from the surface down to a depth of 6 inches (a shallower depth is ok if the soil is too hard). If soil is too hard for the soil probe to be inserted at all, wet the soil first and then insert the soil probe.
- Combine the collected soil in a large bag or bucket and mix thoroughly, breaking up any large chunks. Samples should be free of any large plant material and other debris.
- Using the provided scoop, collect one level scoop of the mixed soil and add it to the jar containing DI water and nutrient adsorbing capsule. Tightly secure lid!
DO NOT DUMP WATER OUT OF JAR
3. Mail your sample to the lab
- MAIL YOUR SAMPLE WITHIN ONE DAY OF ADDING SOIL TO THE JAR
- Place jar in the provided prepaid envelope and seal it
- Place the envelope in your mailbox or any USPS accepted location
- You will receive email notifications of sample progress over the next 6-days or login to your dashboard.
4. Get your results
You will be notified via email when your results are ready (6-8 business days from the time the sample was sent) or login to your dashboard check sample status. Your results will include:
- 13 plant available nutrient levels including Nitrogen and pH (Nitrogen (N) (Nitrate & Ammonium), Phosphorus (P), Potassium (K), Calcium (Ca), Magnesium (Mg), Sulfur (S), Iron (Fe), Manganese (Mn), Boron (B), Copper (Cu), Zinc (Zn), Sodium (Na)).
- The Andersons fertilizer recommendations and application rates
- Links to recommended products
5. Grow better
Apply your recommended products at the direct rates.
Collecting a good representative sample
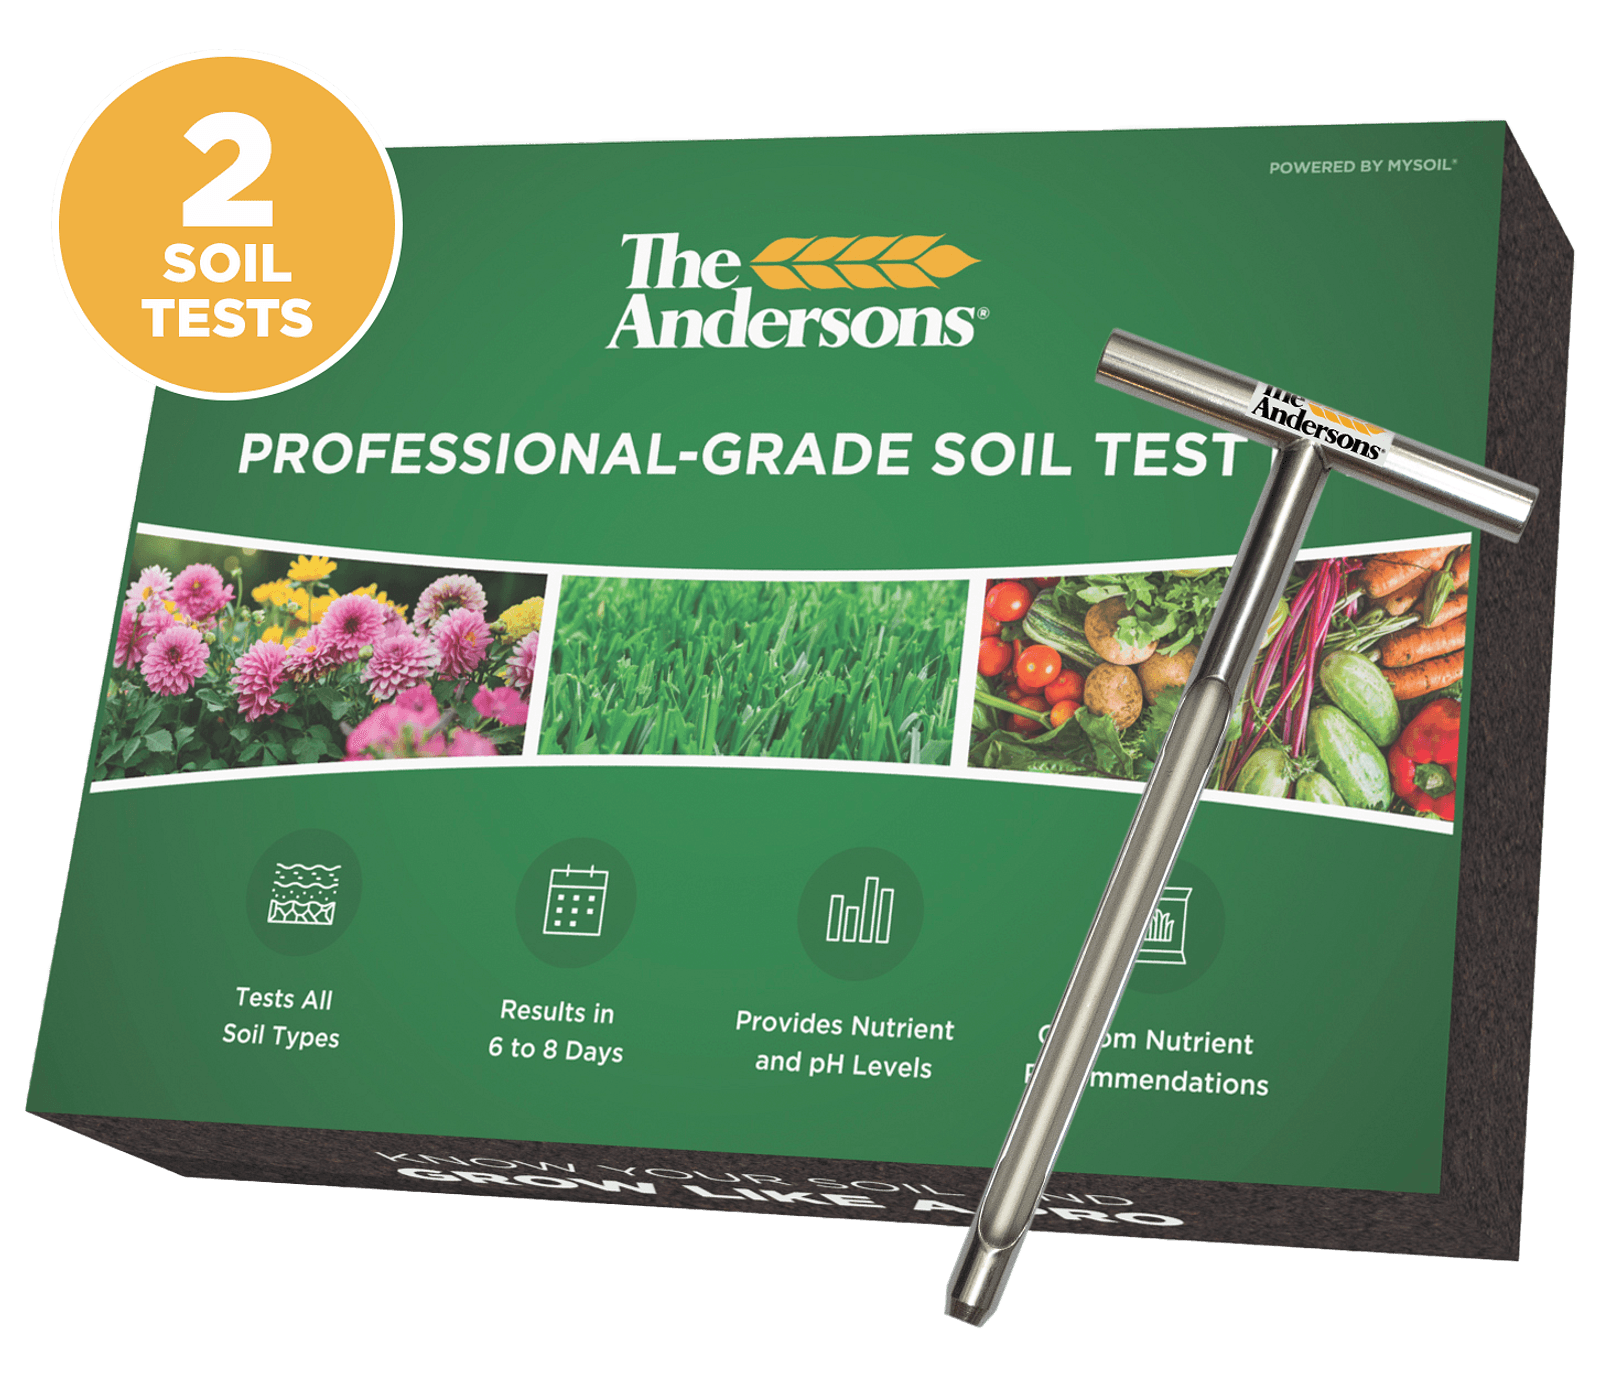
It is important to collect a representative soil sample. If multiple sample areas are being tested, we recommend separate tests for each area. One test kit for the yard and one for the garden or separate kits for front and backyard (if you have a large lawn or if the conditions are different in the front yard from the back yard). For each test, we recommend:
1. Pull soil from 5-7 different spots/locations to a depth of 6 inches (0-6”)
2. Use a bag or bucket to collect the 5-7 subsamples
3. Thoroughly mix the 5-7 subsamples
When collecting soil samples, we recommend using The Andersons Soil Probe or clean hand trowel. Typically, the best time to conduct a soil test is in the spring before any product applications. If you conduct a soil test during the growing season, ensure to wait at least 30 days after product applications to ensure you are getting an accurate reading.
Conclusion
Soil testing is one of the most essential yet often overlooked aspects of DIY lawn care. By understanding your soil's pH and nutrient content, you can create the optimal conditions for your grass to flourish. Whether you’re dealing with nutrient deficiencies, pH imbalances, or simply want to optimize your lawn care efforts, soil testing provides the knowledge you need to make informed decisions and create a healthier, more beautiful lawn.
Next time you’re tending to your yard, remember: the best lawns start with healthy soil. A simple soil test could be the key to unlocking the full potential of your lawn!